It is possible to build a simple data acquisition system using the STM32F103 processor. A few analog ports are sampled at the frequency defined by the user and the result is sent over USB configured as a virtual com port, in human readable format to a computer. The code is available at my GitHub repo. This project demonstrates a few things:
- Sample signals with a fairly precise sampling time,
- Use ADC, DMA and a timer for analog to digiral conversion in hardware, completely independent from software,
- How to use the CubeMX graphical configuration and code generation tool,
- Create a USB CDC device (virtual com port, actually a virtual modem device),
- Show what can be done using only a $3 microprocessor board.
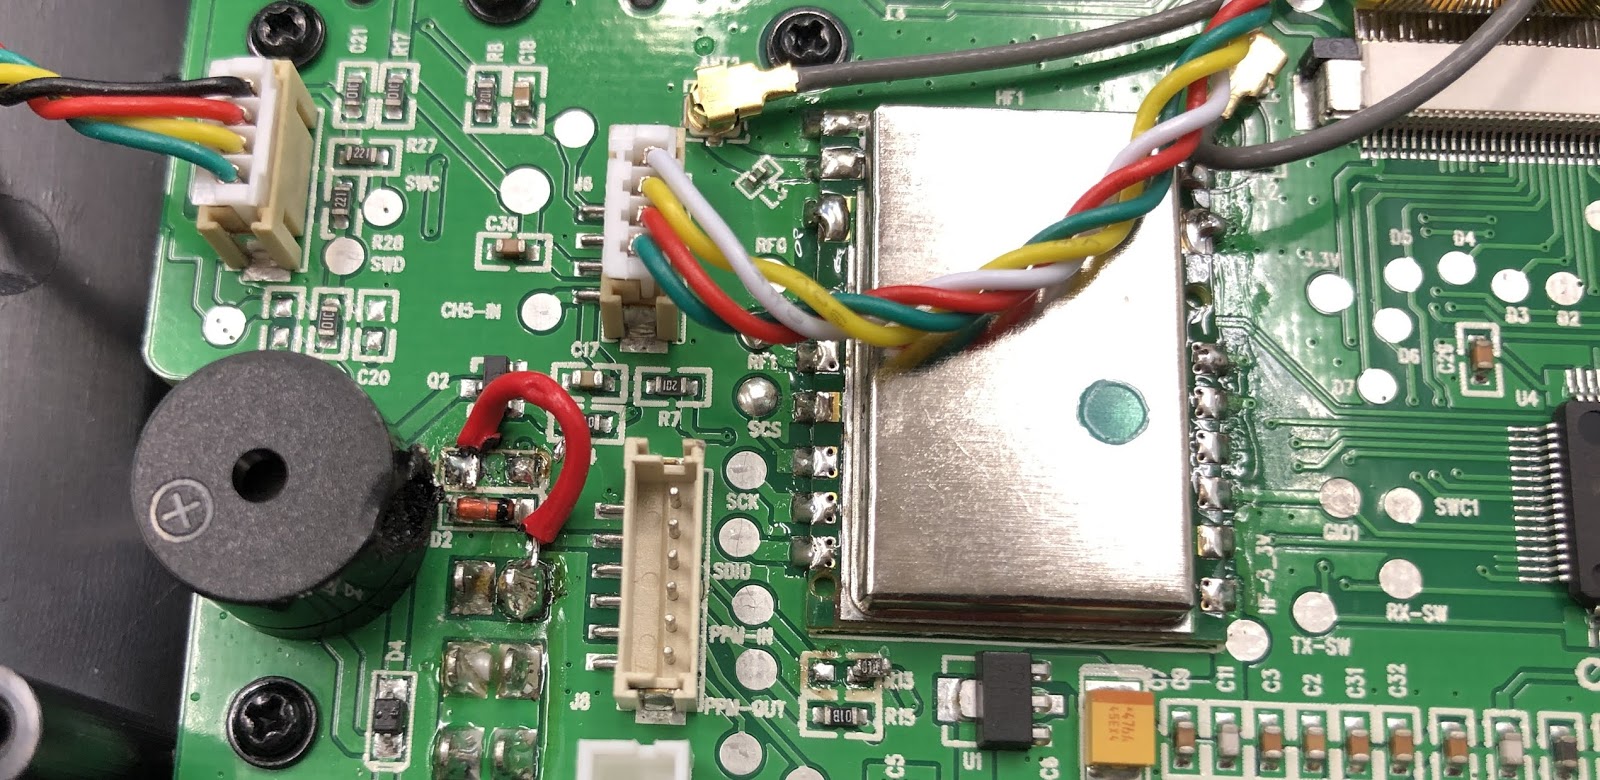
 |
| Pots used to generate the voltage data. |
The system uses a timer to trigger the ADC, which automatically samples one sequence of the channels you specify, stores them using DMA into your array. It finally sets a flag in an interrupt service routine (ISR).
At the same time, a USB CDC device is also set-up, so this appears to the computer as a virtual serial comm port (actually a modem device). At the firmware side, all that the user needs to do is to check a flag, called the ADC sequence complete flag, and if it is true, get the ADC results, format them into a string, and send the string to the host computer over the comm port. Since a standard USB device class is used, it should work on most modern OS'es without a driver.
The project also demonstrates how to use STM32 CubeMX to create a fairly complex system using the graphical user interface (GUI). The USB device setup can be simply created, as well as the timer, ADC, DMA, the links between them and the interrupts that they generate. After this, we only need to fill up a few locations, typically in main.c. Since STM32 CubeMX auto-generates the project sources, you must not interfere with its code. It must not interfere with what you write either. To deal with this, ST has come up with a method, where they seperated the generated code with this type of comments:
/* USER CODE BEGIN Includes */
  -> your code goes between these comments and survives CubeMX source re-generation.
/* USER CODE END Includes */
 -> whatever you write outside gets erased the next time CubeMX
re-generates your project source.
If you write between them, STM32 CubeMX does not touch your parts of the code even if you re-generate it using the GUI. Well, the method does make for bloated code. But at the end, if you are sure that you will not go through another re-generation iteration, you can delete all those markers and you will be fine and your code senile and readable (ask the OCD in me!).
The code is built as a GCC project using GNU make. The Makefile is modified a bit from the original, because the autogenerated one has too much repetition in file paths etc. I also added a "make jflash" rule so that you can use Texane's excellent st-util for ST-Link V2 programmer. To compile, you should have a GNU-ARM-Embedded toolchain installed (such as from the Launchpad site). Edit Makefile to point to your toolchain path. (BTW, I intentionally obfuscated the Makefile after it was first generated by CubeMX. In later re-generations of the source, CubeMX fails to recognize your Makefile for updating, does not modify it, and gives an error message. This is intentional. Just ignore that error).
After you program the processor, power it down and plug it back in through the USB port. It should appear as a CDC device (such as /dev/ttyACM0). Connect to it using a terminal emulator (I like kermit). After you set the port (no need to set connection speed in ACM devices) and connect, you should see the readings coming from ADC1, 2, 3 as:
...
200: ADC1=0, ADC2=4029, ADC3=4030
201: ADC1=1039, ADC2=4029, ADC3=4029
202: ADC1=2353, ADC2=4030, ADC3=4030
203: ADC1=3503, ADC2=4030, ADC3=4030
...
The first number is sample sequence. How you format the data is up to you. The above format is just for clarity; in a normal application a comma separated list is probably better. You can send data in binary form also. You can even build a simple data graph of sorts by using the excellent SerialPlot program. Give it a try!
There are a few things that can be changed:
- Add or remove ADC channels -> See the ADC section in CubeMX
- Change the sample and hold duration -> See the ADC section in CubeMX
- Change sampling time -> See TIM3 section in CubeMX. The sampling time is calculated as follows: The processor runs at 72MHz. This is first divided in the prescaler (it is currently set to 7200), and further in the ARR (max count limit of timer/counter) which is set to 1000. The overall sampling time (Ts) is therefore 72,000,000 /7200 /1000 = 10 samples/s => One sample at every 0.1s, or, Ts=100ms. Or course, it can be much faster than this; this rate is only to make it easy fo visually follow the output.
You can modify them either in the source code or in CubeMX. If you modify directly in the source code, your changes will disappear the next time you re-generate the source from CubeMX. So it is better to do it from CubeMX.
Here are some main points about the source code. The important thing to remember is that CubeMXis a tool for initializing the hardware. It does not generate a program that is useful for anything. We need to write that. Let's go over the significant parts. (Some of the parts mentioned below are already filled in by CubeMX):
It is important to start with the includes for the USB CDC functions. We add:
#include "usbd_cdc_if.h"
This is the array for the string sent over the virtual comm port (we add):
char msgbuf[128];
From this line onwards is the meat of the matter:
/* USER CODE BEGIN 2 */
The following shows how to send a string over the virtual comm port:
sprintf(msgbuf, "Starting device.\r\n");
CDC_Transmit_FS((uint8_t *) msgbuf, strlen(msgbuf));
Starting the timer and the DMA are user's responsibility:
HAL_TIM_Base_Start(&htim3); //AO!: Start the timer.
The ADC and DMA are initialized with the following HAL function. It specifies which ADC to use, which array the results of the conversion are stored and the length of the transfer. The actual link between the ADC and DMA was set in stm32f1xx_hal_msp.c:
HAL_ADC_Start_DMA(&hadc1, adcBuf, ADC_BUFLEN); //Link DMA to ADC1
The infinite loop follows. It simply waits for the ADC_FLAG to become TRUE, which is set by the DMA transfer complete callback function. When this happens, the ADC results have already been stored in adcBuf[ ] array. We format them as a string and send over the virtual comm port:
sprintf(msgbuf, "%d,%d,%d,%d\r\n", i,
(int)adcBuf[0], (int)adcBuf[1], (int)adcBuf[2]);
CDC_Transmit_FS((uint8_t *) msgbuf, strlen(msgbuf));
CubeMX links ADC and TIM3 as:
static void MX_ADC1_Init(void){
The next significant part is the modification of the DMA transfer complete callback function, which sets ADC_FLAG. We add:
/* USER CODE BEGIN 4 */
void HAL_ADC_ConvCpltCallback(ADC_HandleTypeDef* hadc1){
ADC_FLAG=TRUE;
}
This is essentially all the important changes to main.c. There is one extra. I modified the error handler so that it sends the file and line number of where the error function was called, and then blocks there while flashing the LED at 20Hz. If the virtual comm port ever came up correctly by the time an error occurred in your program, you should see where the error was generated. This is done in _Error_Handler function.
The next significant file is stm32f1xx_hal_msp.c where the link between TIM3, ADC and DMA are set around the line /* ADC1 DMA Init */ (already done by CubeMX):
__HAL_LINKDMA(hadc,DMA_Handle,hdma_adc1);
So that's it. Please modify the code to suit your needs. "Share and Enjoy!"
PS: If you are new to STM32 programming in GCC, please see my blog on how to set up a development environment for it.
Going through the source:
Here are some main points about the source code. The important thing to remember is that CubeMXis a tool for initializing the hardware. It does not generate a program that is useful for anything. We need to write that. Let's go over the significant parts. (Some of the parts mentioned below are already filled in by CubeMX):
It is important to start with the includes for the USB CDC functions. We add:
#include "usbd_cdc_if.h"
This is the array for the string sent over the virtual comm port (we add):
char msgbuf[128];
From this line onwards is the meat of the matter:
/* USER CODE BEGIN 2 */
The following shows how to send a string over the virtual comm port:
sprintf(msgbuf, "Starting device.\r\n");
CDC_Transmit_FS((uint8_t *) msgbuf, strlen(msgbuf));
Starting the timer and the DMA are user's responsibility:
HAL_TIM_Base_Start(&htim3); //AO!: Start the timer.
The ADC and DMA are initialized with the following HAL function. It specifies which ADC to use, which array the results of the conversion are stored and the length of the transfer. The actual link between the ADC and DMA was set in stm32f1xx_hal_msp.c:
HAL_ADC_Start_DMA(&hadc1, adcBuf, ADC_BUFLEN); //Link DMA to ADC1
The infinite loop follows. It simply waits for the ADC_FLAG to become TRUE, which is set by the DMA transfer complete callback function. When this happens, the ADC results have already been stored in adcBuf[ ] array. We format them as a string and send over the virtual comm port:
sprintf(msgbuf, "%d,%d,%d,%d\r\n", i,
(int)adcBuf[0], (int)adcBuf[1], (int)adcBuf[2]);
CDC_Transmit_FS((uint8_t *) msgbuf, strlen(msgbuf));
CubeMX links ADC and TIM3 as:
static void MX_ADC1_Init(void){
The next significant part is the modification of the DMA transfer complete callback function, which sets ADC_FLAG. We add:
/* USER CODE BEGIN 4 */
void HAL_ADC_ConvCpltCallback(ADC_HandleTypeDef* hadc1){
ADC_FLAG=TRUE;
}
This is essentially all the important changes to main.c. There is one extra. I modified the error handler so that it sends the file and line number of where the error function was called, and then blocks there while flashing the LED at 20Hz. If the virtual comm port ever came up correctly by the time an error occurred in your program, you should see where the error was generated. This is done in _Error_Handler function.
The next significant file is stm32f1xx_hal_msp.c where the link between TIM3, ADC and DMA are set around the line /* ADC1 DMA Init */ (already done by CubeMX):
__HAL_LINKDMA(hadc,DMA_Handle,hdma_adc1);
So that's it. Please modify the code to suit your needs. "Share and Enjoy!"
PS: If you are new to STM32 programming in GCC, please see my blog on how to set up a development environment for it.